
This post will show you the step-by-step guide on how to backup your Hyper-V Virtual Machines with Windows Server Backup in a lab environment just in case your VMs won’t boot up anymore after your Hyper-V host have restarted.
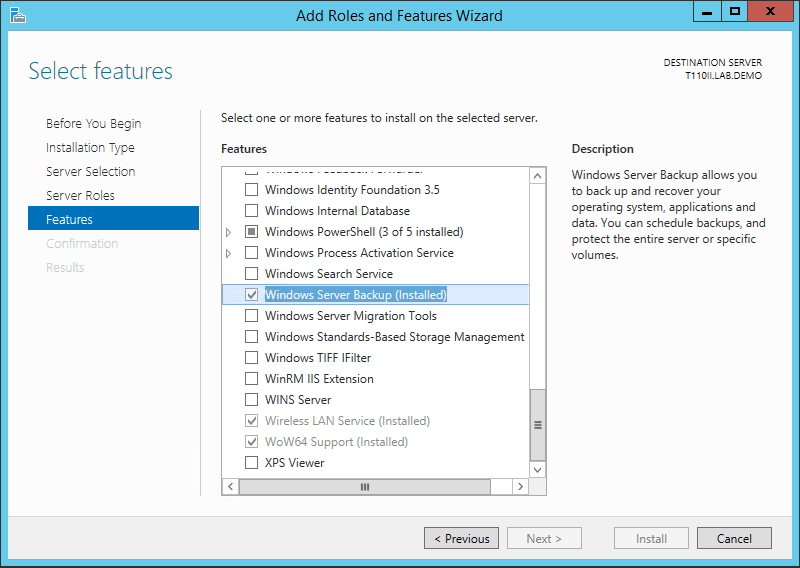
Windows Server Backup can be installed as an added feature of your Windows Server 2012 or Windows Server 2012 R2.
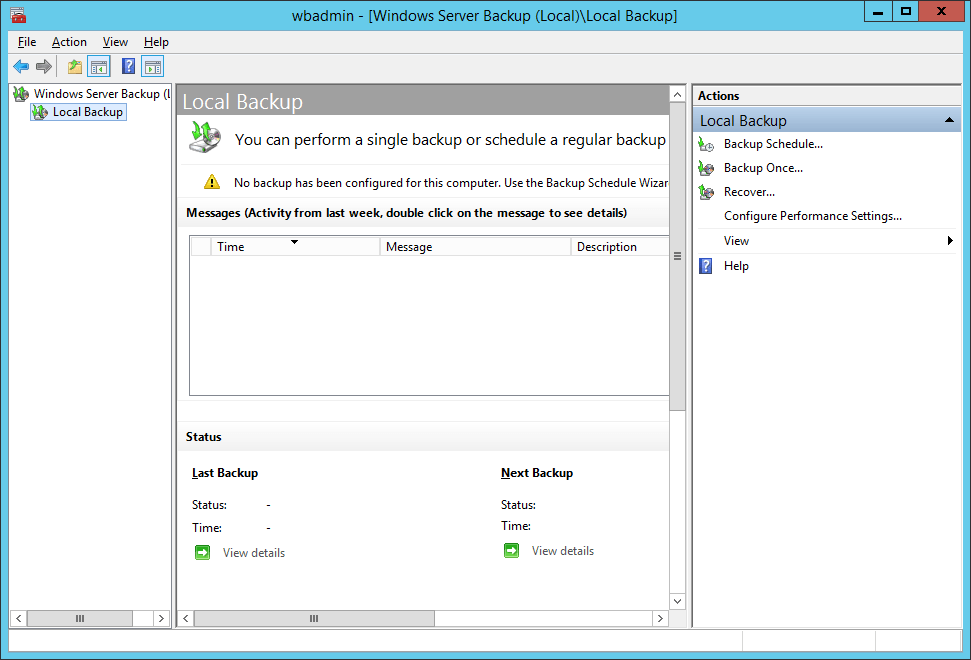
To backup you VMs launch Windows Server Backup from Server Manager > Tools drop down menu.
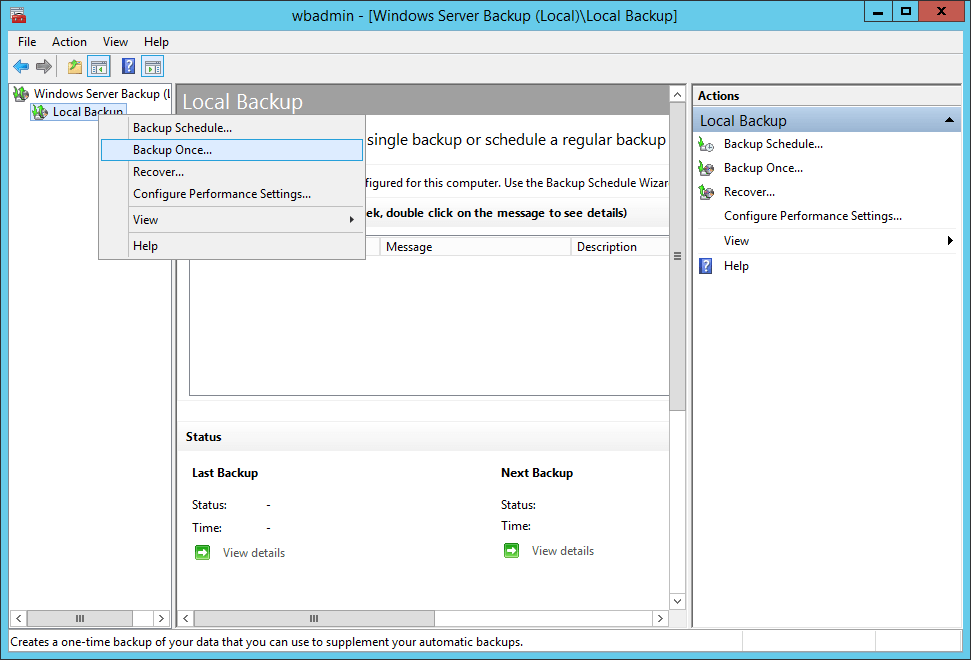
In the Windows Server Backup console right-click on the Local Backup node and select the Backup Once… option.
The Backup Once Wizard will appear and select Different options.
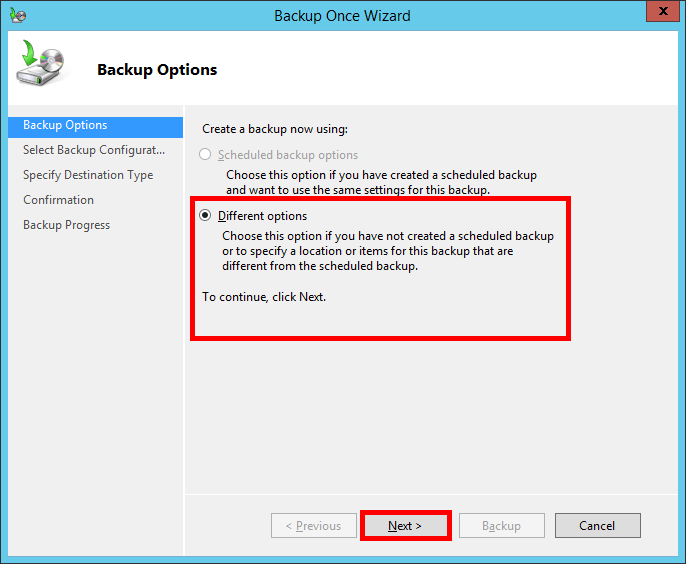
Click Next to continue
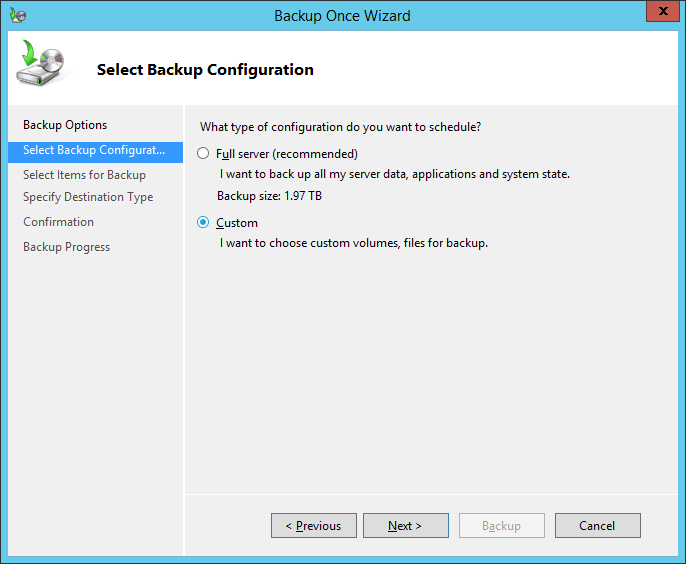
Select Custom in the Selection Backup Configuration screen and click Next.
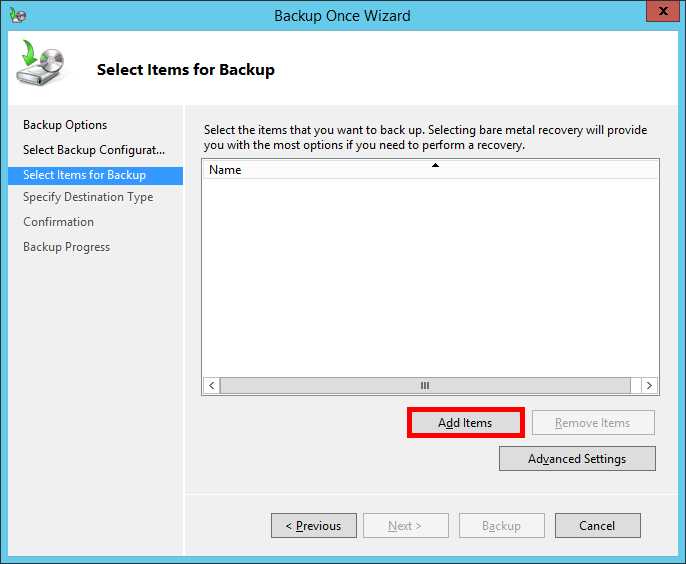
In the Select Items for Backup screen click on the Add Items button.
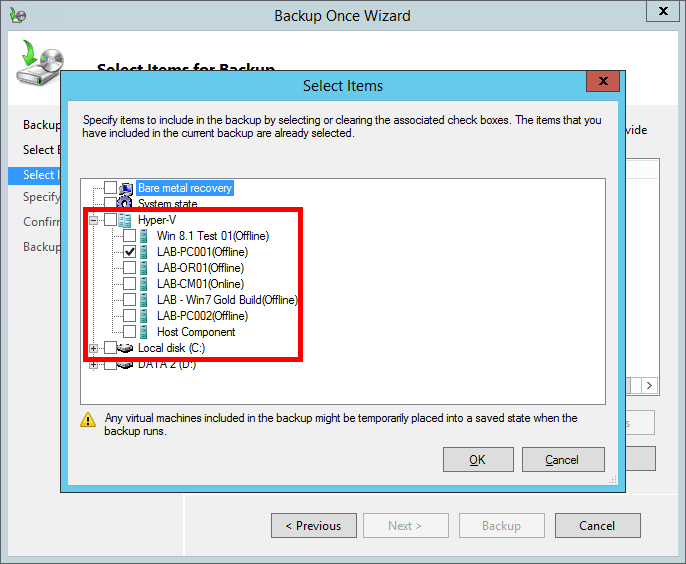
Select which VM(s) to backup, make sure the VM that you are about to backup is turned off otherwise backup will fail (as per testing) then click OK to continue.
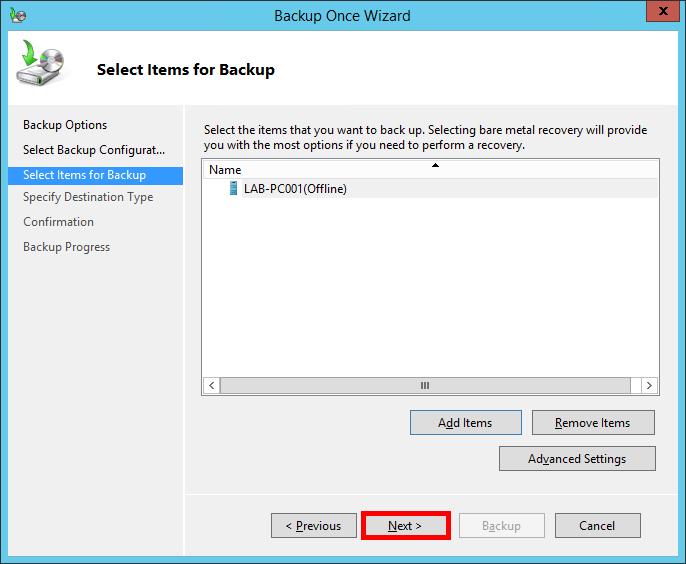
Click Next to continue.
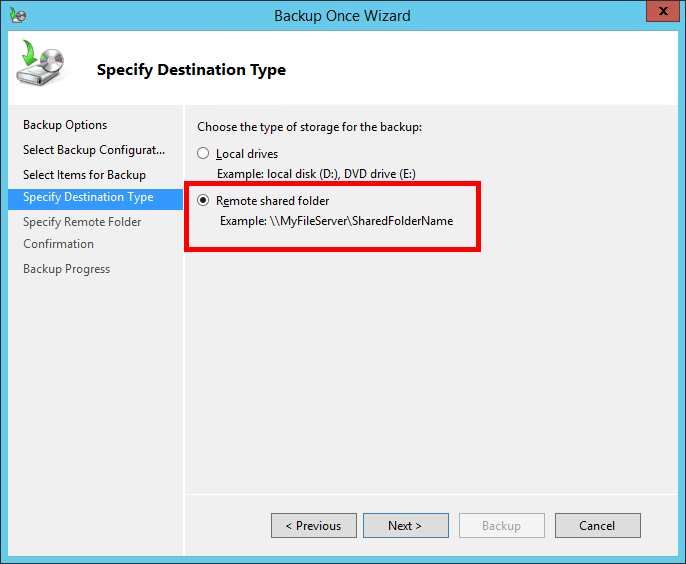
Select where to backup your VM(s) in this scenario I will backup it up to my network share.
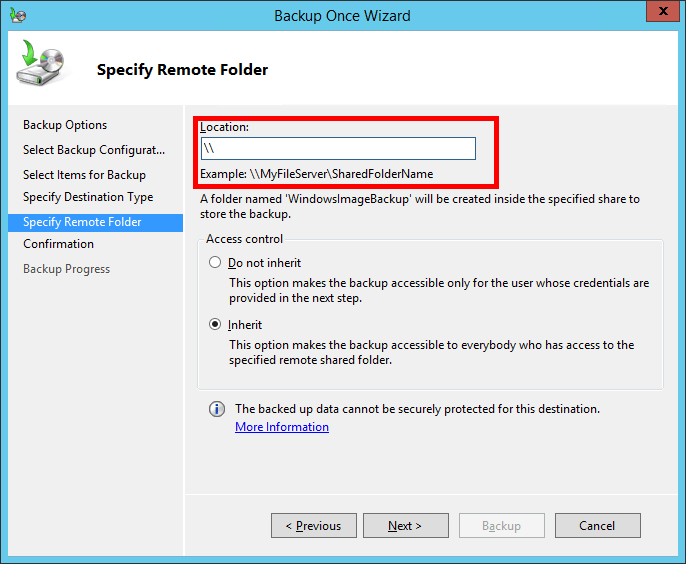
Click Next to continue.
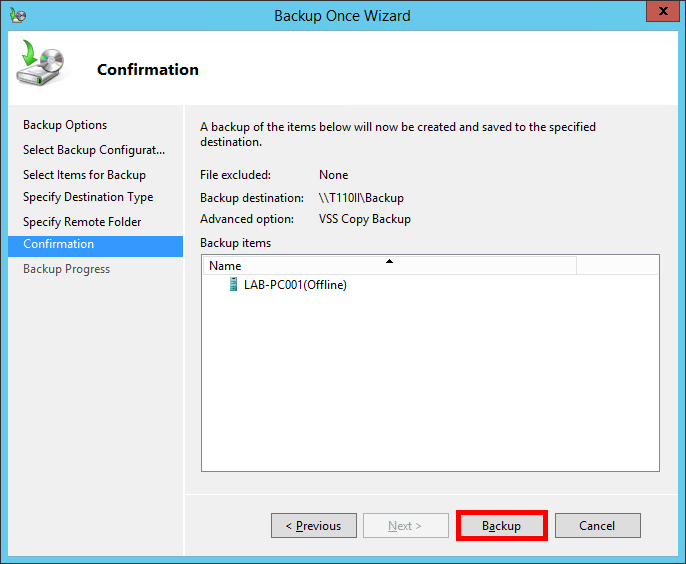
Click the Backup button to start the backup process.
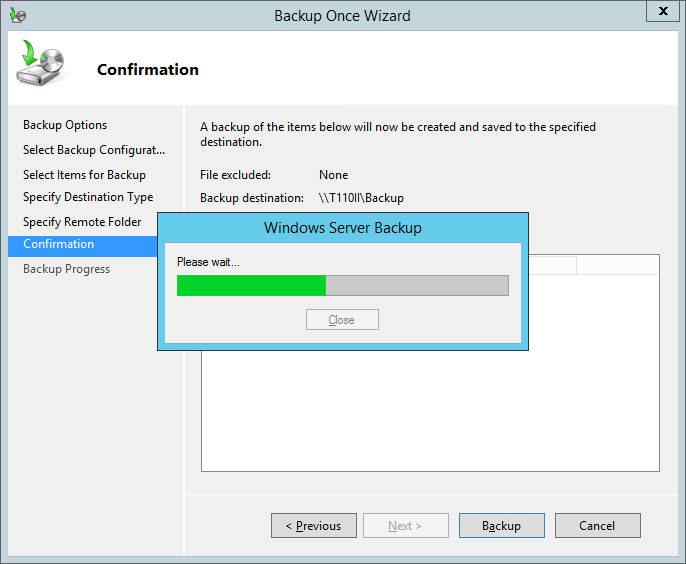
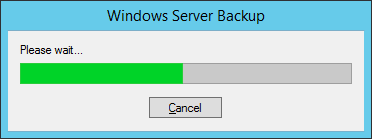
The backup will take sometime depending on how large your VM(s) are.
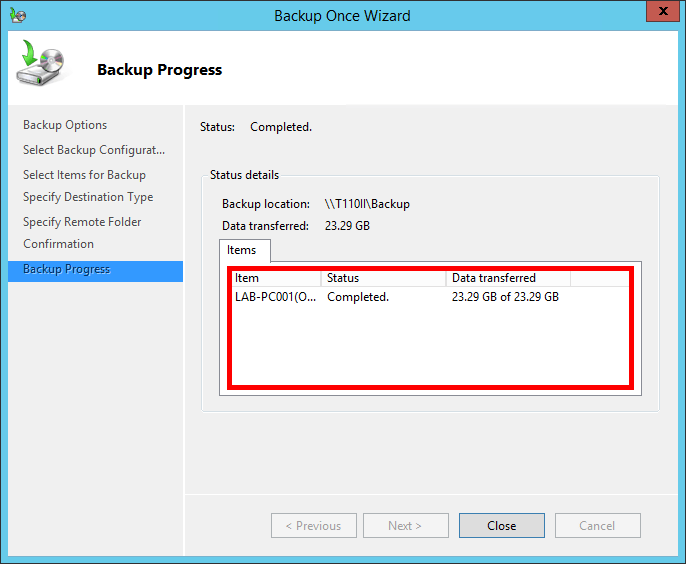
You’ll see the status is completed once backup is done. Click Close to complete the process.
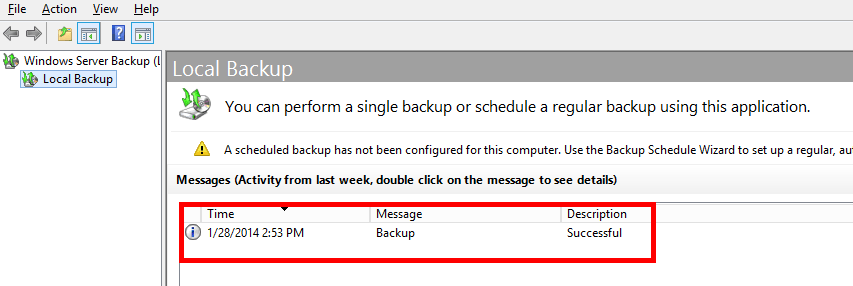
As you can see the completed backup is now reflected in Windows Server Backup console.


Leave a Reply