I recently got a new mobile lab from work and I intend to keep the resource utilization as low as possible, with that I decided to use Windows Server Core and later manage them using Windows Admin Center.
Below is the simple steps taken to install and configure a Windows Server Core server.
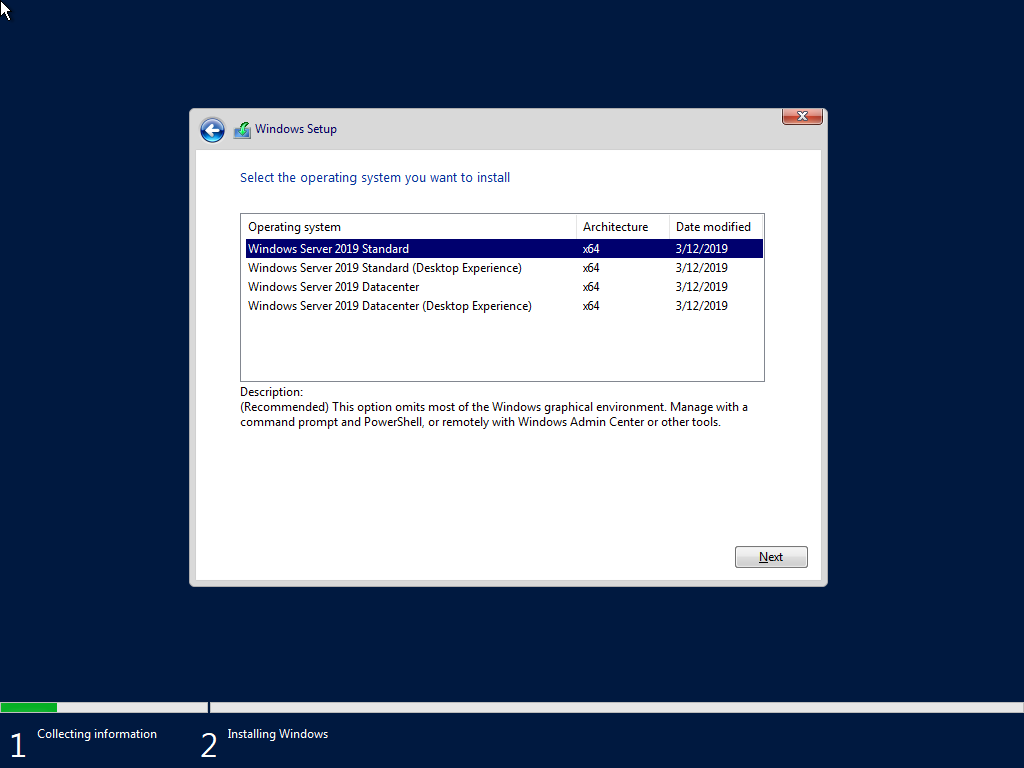
Installing Windows Server Core

In a new VM boot the Windows Server 2019 ISO and select Windows Server 2019 Standard and proceed to complete the installation.

Once the installation is complete you’ll notice that there will be on OOBE (out-of-box-experience) setup.

The installation will go straight to ask you to change the Administrator’s password before you sign-in. Hit enter and go ahead to type in a new password

Once the password is changed, still log you in and you’ll be greeting with the Administrator’s Command prompt.

Set Static IP Address
In the Command Prompt, type PowerShell:
To view the current network configuration, type Get-NetIPConfiguration.
To view the IP addresses that is currently assign, type Get-NetIPAddress.

To set a static IP address, do the following:
- Type the Get-NetIPInterface command.
- Take note the number of the IfIndex column in the IP interface that you later will set the static IP address to.
- Type the following cmdlet to set the static IP address:
New-NetIPaddress -InterfaceIndex <IFIndex> -IPAddress <192.x.x.x> -PrefixLength 24 -DefaultGateway <192.x.x.x>
where:
- InterfaceIndex is the value of IfIndex. (from the screenshot the value is 5)
- IPAddress is the new static IP address assigned. (from the screenshot the value is 192.168.74.10)
- PrefixLength is the prefix length (from the screenshot, the value is 24)
- DefaultGateway is the default gateway IP address. (from the screenshot, 192.168.74.1)
4. Type the following cmdlet to set the DNS client server address:
Set-DNSClientServerAddress –InterfaceIndex <IfIndex> -ServerAddresses 192.X.X.X,127.0.0.1
Rename the Computer
To rename the Server Core computer name is to first find out the current computer name run the Rename-Computer PowerShell command.

- In the PowerShell command prompt, type hostname.
- Run Rename-Computer -ComputerName <Current hostname>.
- Then it will ask you for the NewName, enter a new computer name and hit enter.
- Restart the computer.
Now the first Windows Server Core server has been setup, the next step it to install Roles in Features to it.


Leave a Reply