This post will show the step-by-step installation of Windows ADK for Windows 10 1903 and Windows PE add-on ADK.
1) Download the Windows ADK for Windows 10 version 1903 from https://docs.microsoft.com/en-us/windows-hardware/get-started/adk-install
2) Download the Windows PE add-on for the ADK on the same page

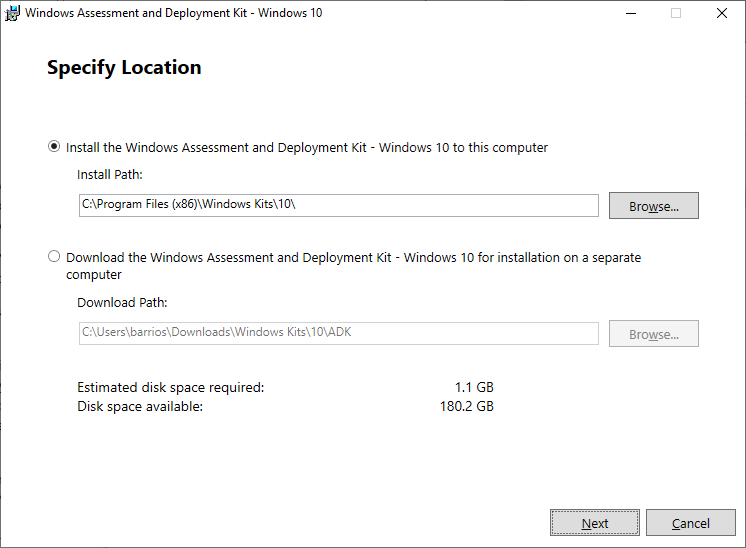
3) Install Windows Assesement and Deployment Kit – Windows 10

4) In the Windows Kit Privacy select whether or not to Send anonymous usage of data to Microsoft for the Windows 10 Kit? then click Next to proceed to the License Agreement page
5) In the License Agreement read through the Micosoft Software License Term and click on the Accept button to continue.
6) In the Select the feature you want to install, tick on the features the you require and then click on the Install button.

7) Optional: Post-Install for 64-bit version for Windows. There’s a known issue when using WSIM as documented in the What’s new in ADK kits and tools page https://docs.microsoft.com/en-us/windows-hardware/get-started/what-s-new-in-kits-and-tools#windows-system-image-manager-known-issue
an update for WSIM 1903 needs to be downloaded and applied to the 64-bit system.

8) After downloading and extracting the WSIM1903.zip open the ReadMe.txt and following the instructions.

9) Execute the UpdateWSIM.bat on an elevated CMD

It basically copies the imagecat.ext and imgmgr.exe to the Windows ADK installation folder.

10) Install Windows PE add-on, double click the adkwinpesetup.exe

11) Get through the Windows Kit Privacy and the License Agreement pages and then at the Select the features you want to install page, click on the Install button.

12) Close to the Welcome to the Windows…… page and you start using Windows ADK for Windows 10 version 1903 and Windows PE.


Leave a Reply