In this blog I am sharing how I upgraded my Windows Server 2016 Hyper-V host that been running an Intel NUC for a solid 3 years now to Windows Server 2019. Before anything else I’m taking my collecting my current server info (reference link: here)
- Open a command prompt and type systeminfo.exe.

- Copy, paste the info to a notepad or OneNote save to another device or storage other than the machine that will be upgrading.
- Type ipconfig /all and take note of the IP settings.
- Open the Registry Editor this this hive:
HKLM\SOFTWARE\Microsoft\Windows NT\CurrentVersionand take note the Windows Server BuildLabEx (version) and EditionID (edition).
It’s also worth the trouble to that we backup the operating system, apps, and virtual machines.

As you can see above, we can’t have any virtual machines running during the in-place upgrade process, so we have to make sure that they are turned off.
Now, after this checklist are met, it’s time to launch the Windows Server 2019 installer.

If you are prompted a UAC – click Yes.

The next screen will ask for either Download updates, drivers and optional features (recommended) or Not right now options, if your device is internet-connected you may select the first option and then select Next.

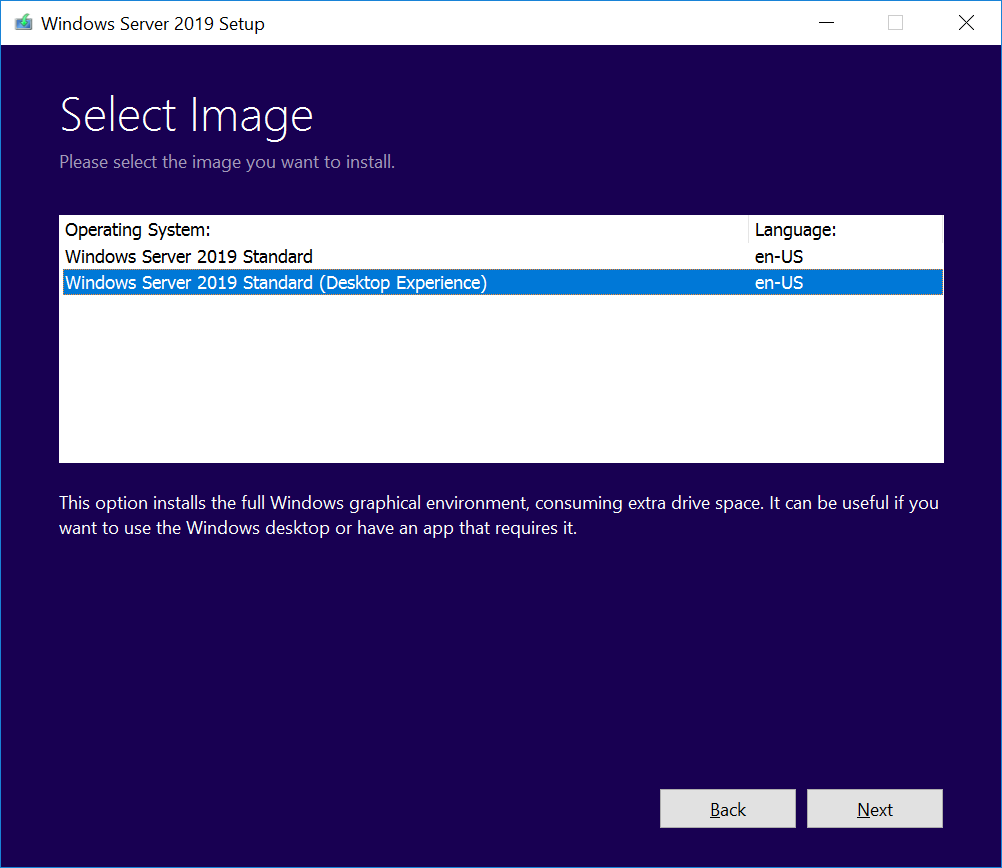
Enter your Windows Server 2019 Product, in this example I have a Standard License (you won’t see any Datacenter options here).

I selected the Windows Server 2019 Standard (Desktop Experience) then clicked Next.

Select Accept to accept the terms of your licensing agreement

On the next screen you may select to Keep your personal files and apps or just wipe everything, I have chosen the keep my files, then I clicked Next.

The setup will then analyzes the device and will call your attention if needed (same in the example above of the running VMs), once all is good to go it will prompt you to proceed with the Installation.

Click install to proceed.

After the upgrade is completed, verify that the upgrade to Windows Server 2019 was successful by going the the System Properties.

Now this Windows Server 2019 is ready.


Leave a Reply