
This post will show the step-by-step procedure on how to promote a Windows Server Core to a Domain Controller and executing it from Windows Admin Center using a PowerShell script.
In Windows Admin Center > Server Manager connect to the server that will be promoted, for this post we will use LABDC01.

In LABDC01, under the Tools, go to Files and click on the New Folder under C:.

name the folder as Scripts and click Submit

Next is to browse and upload the PowerShell script.

You’ll get a notification once the file has been uploaded successfully to the C:\Script directory.

Here’s the content of the PowerShell script, this is the same script that I’ve used in the previous projects. For my new environment my domain is named sg.lab.demo with netbios name set to LAB.

Back in the Windows Admin Center go to PowerShell and run the uploaded script.

The PowerShell script will begin to run and will just take a few minutes to complete the installation of the Active Directory Domain Services and DNS roles.

You’ll be ask to enter the Safe Mode Administrator Password twice

The installation will proceed and will restart the Server automatically

Back in the server core machine, you will now see its now presenting a domain logon credentials LAB\Administrator instead of .\Administrator

In the Windows Admin Center, inspect the Roles & Features you’ll see that Active Directory Domain Services status is now Installed.

You can further configure your Domain Controller using another PowerShell script to:
- Install Remote Server Administration Tools
- Create a new Active Directory Site
- Assign GDC2 Subnets to the GDC2 Active Directory Site
- Create a new replication site link
- Delete the Default Site Link
- Delete the Default IP Site Link
- Create the OU Structure
- Configure custom port for NetLogon
- Configure custom port for NTDS
- Configure custom port for NTFRS
- Configure custom port for DFRS
- Configure custom port range for RPC response ports
- Configure Windows Time Source
- Configure DNS Reverse Lookup
- Enable Active Directory Recycle Bin
things like that….
Now, if you go to the Local Users and Groups, obviously this tool won’t be available anymore. For you to access the Active Directory you have to install its extension.

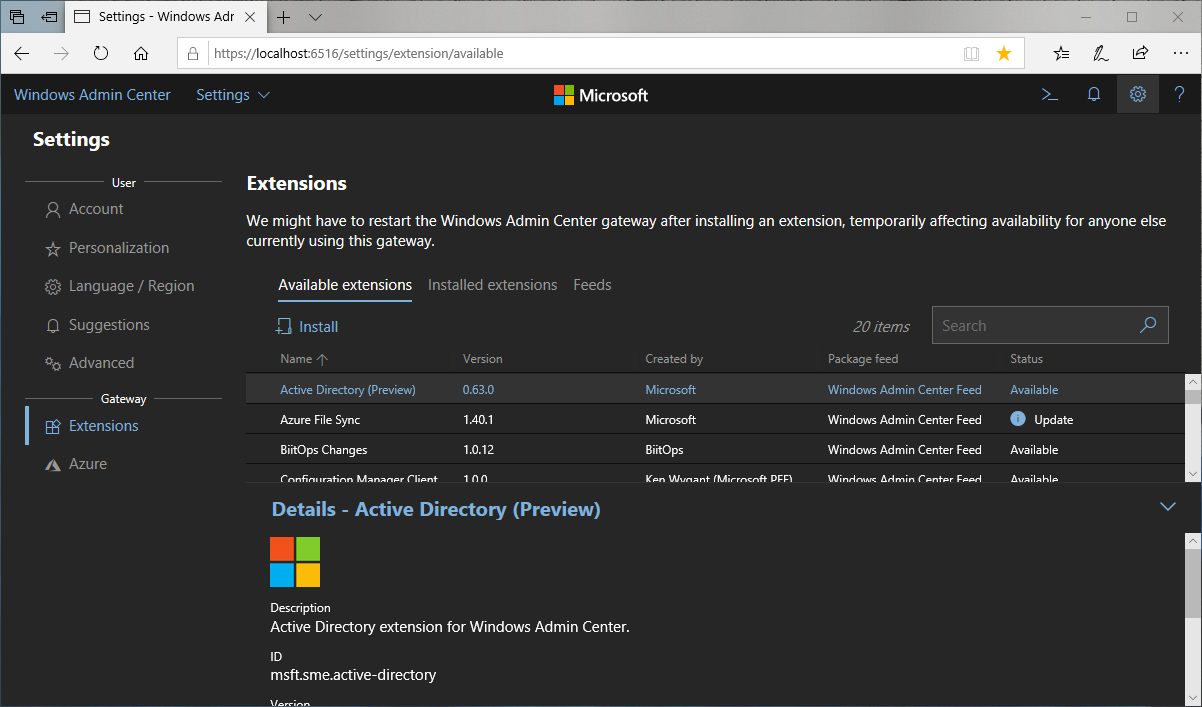
To install the AD extension, go to Settings > Extensions and install Active Directory extension.

Once the installation of the AD extension is complete, the Active Directory tool will be available in LABDC01.

Now we have completed the deployment of a new Domain Controller.


Leave a Reply