This post will show the step-by-step process on how to install Microsoft Endpoint Configuration Manager (current branch – version 2002) as a Standalone Primary Server in a Windows Server 2019 lab environment from scratch and later on we will upgrade it to current branch – version 2006.
Step 1. Primary Site Server Installation Prerequisites
LAB Environment
For the LAB environment I have dedicated an Intel NUC for my ConfigMgr Sever which is joined to my domain that is running on a Windows Server 2019 Hyper-V environment with an Internet connection.
Installation Media
What you need:
- Windows Server 2019
- Microsoft Endpoint Manager
- SQL Server 2019
- MS SQL Management Studio
- Windows ADK for Windows 10, version 2004 and Windows PE add-on for the ADK, version 2004
Download the iso files from your Visual Studio Subscription or Microsoft Evaluation Center
AD Accounts
For this installation I have created accounts
- SCCMAdmin – account to be used for administering ConfigMgr
- SQLSvrAgent – account to be used as the SQL Server Account
You can go ahead and create the rest of the required SCCM Accounts
- SCCM Network Access Account
- SCCM Client Push Install Account
- SCCM Domain Join Account (for OSD)
- SCCM Admins Group
- SCCM SQL Reporting Account (If you’re installing Reporting Services)
Unlike my previous post, Step-by-step SCCM 1902 Installation and SCCM 1906 Upgrade Guide, I already have an existing domain with ConfigMgr running so I’ll go straight and Delegate of Permission to my new ConfigMgr Server (LAB-CM01) and skip the Extend Active Directory Schema for SCCM.


Configure Windows Firewall
To open TCP port 1433 and 4022 for SQL replication you need to launch the Windows Defender Firewall and Advance Security to do that, press Windows logo key, type wf.msc and click on it


Step 2. Install Web Server (IIS) Role and other Features
In the Primary Site Server we will need to install the follow Roles and Features from the Server Manager:


Note: BITS – is the technology that allows us to throttle all the network communication that occurs between servers to client where it utilizes idle bandwidth to transfer data.

In the Web Server Role (IIS) > Role Services select the following:
Web Server (IIS)
- Web Server
- Common HTTP Features: Default Document, Directory Browsing, HTTP Errors Static Content, HTTP Redirection
- Health and Diagnostics: HTTP logging, Logging tools, Request Monitor, Tracing
- Performance: Static Content Compression
- Security: Windows Authentication
- Application Development: .NET Extensibility 3.5, .NET Extensibility 4.7, ASP.NET 3.5, ASP.NET 4.7, ISAPI Extensions, ISAPI Filters
- Management Tools
- IIS Management Console
- IIS 6 Management Compatibility: IIS 6 Metabase Compatibility, IIS 6 WMI Compatibility
- IIS Management Scripts and Tools

NO_SMS_ON_DRIVE.SMS
This is the most common step that has been overlooked, so make sure to create the NO_SMS_ON_DRIVE.SMS to drives that you don’t want SCCM Contents to be created especially on your remote DPs.


Step 3. Installing and Configuring SQL Server 2019
SQL Server 2019 Installation
In this section we will install and configure the Primary Site’s database server and it’s components.


Note: Best practice in Production, the SQL Server Agent and SQL Server Database Engine should each have a domain accounts. For their account’s passwords should be configured not to expire and cannot be changed (so make sure these service accounts are restricted not have an interactive logon rights as well).


Note: Notice the Configure file path, you can go to the directory and explore the ConfigurationFile.ini if you’re interested to install SQL Server using the configuration file.

MS SQL Server Management Studio Installation
Beginning SQL Server 2016 the release of SQL Server Management Studio (SSMS) was a stand-alone install outside of the SQL Server release. That is why we need to do a separate install of the SSMS.


Configure SQL Server Memory Allocation
Launch the SQL Server Management Studio, Right-click on the CM01 (SQL Server) and select Properties.

In the Server memory options I have set the Minimum and Maximum memory size to 12288 if it’s not set to at least 8192 you’ll have a little warning during the installation of Config Manager. Setting the Memory b/w 2048 to 4096 will still work.

Step 4. Windows ADK Installation
In any Configuration Manager deployment I strongly recommend to install the lasted Windows 10 ADK in preparation for Windows 10 Operating Systems Deployment with Configuration Manager, the Windows ADK is a required external dependency.
- Download the Windows ADK for Windows 10, version 2004
- Download the Windows PE add-on for the ADK, version 2004
Installing Windows ADK for Windows 10
Download and run the adksetup.exe


In the Select the features you want to install, as for this installation we will only select the following:
- Deployment Tools
- Imaging and Configuration Designer – this can be used later on for provisioning packages.
- Configuration Designer
- User State Migration Tool
After selecting the features to to install, click Install button.

Installing Windows PE add-on
Starting Windows 10 1809, Windows Preinstallation Environment (PE) has been released separately from the Windows ADK.
To add Windows PE to the ADK installation, we need to download the Windows PE add-on and run the included installer after installing the ADK.
Similarly to Windows ADK the WinPE Add-on is a straight forward install. Download and run the adkwinpesetup.exe


Step 5. Microsoft Endpoint Configuration Manager (current branch – version 2002) Installation
Finally after all the preparation we are now ready to the install ConfigMgr 2002. Go and mount the ISO and run the Setup.exe.
Download Required Prerequisite Files
Optional: We can download the required prerequisite files prior to the installation of Configuration Manager. This is usually done if your server is in an isolated network.


A pop-up box will appear, read through and click on the Yes button.


Don’t configure the Configuration Manager server yet as we will update it first to version 2006 in the next step.
Step 6. Configuration Manager 1906 Upgrade Installation
Before we begin to upgrade our ConfigMgr 2002 to 2006 you may want go through on the what’s new in version 2006 of current branch https://docs.microsoft.com/en-us/mem/configmgr/core/plan-design/changes/whats-new-in-version-2006
Support for Configuration Manager current branch versions
Also its good to get to know about the Servicing Support/end of support dates for Configuration Manager versions from this link: https://docs.microsoft.com/en-ca/sccm/core/servers/manage/current-branch-versions-supported

SCCM 1906 Prerequisite Check
Launch theConfigMgr console and go to Administration > Updates and Servicing and verify that the Configuration Manager 2006 is in Ready to install State. (This will appear if your ConfigMgr is connected to the internet for sometime)


You can check the progress by opening the C:\ConfigMgrPrereq.log with CMTrace.


ConfigMgr 2006 Update
The Configuration Manager Updates Wizard will launch


Note: if you don’t want to select any of the features you can always enable it later, from the ConfigMgr console Administration workspace > Updates and Servicing > Features.


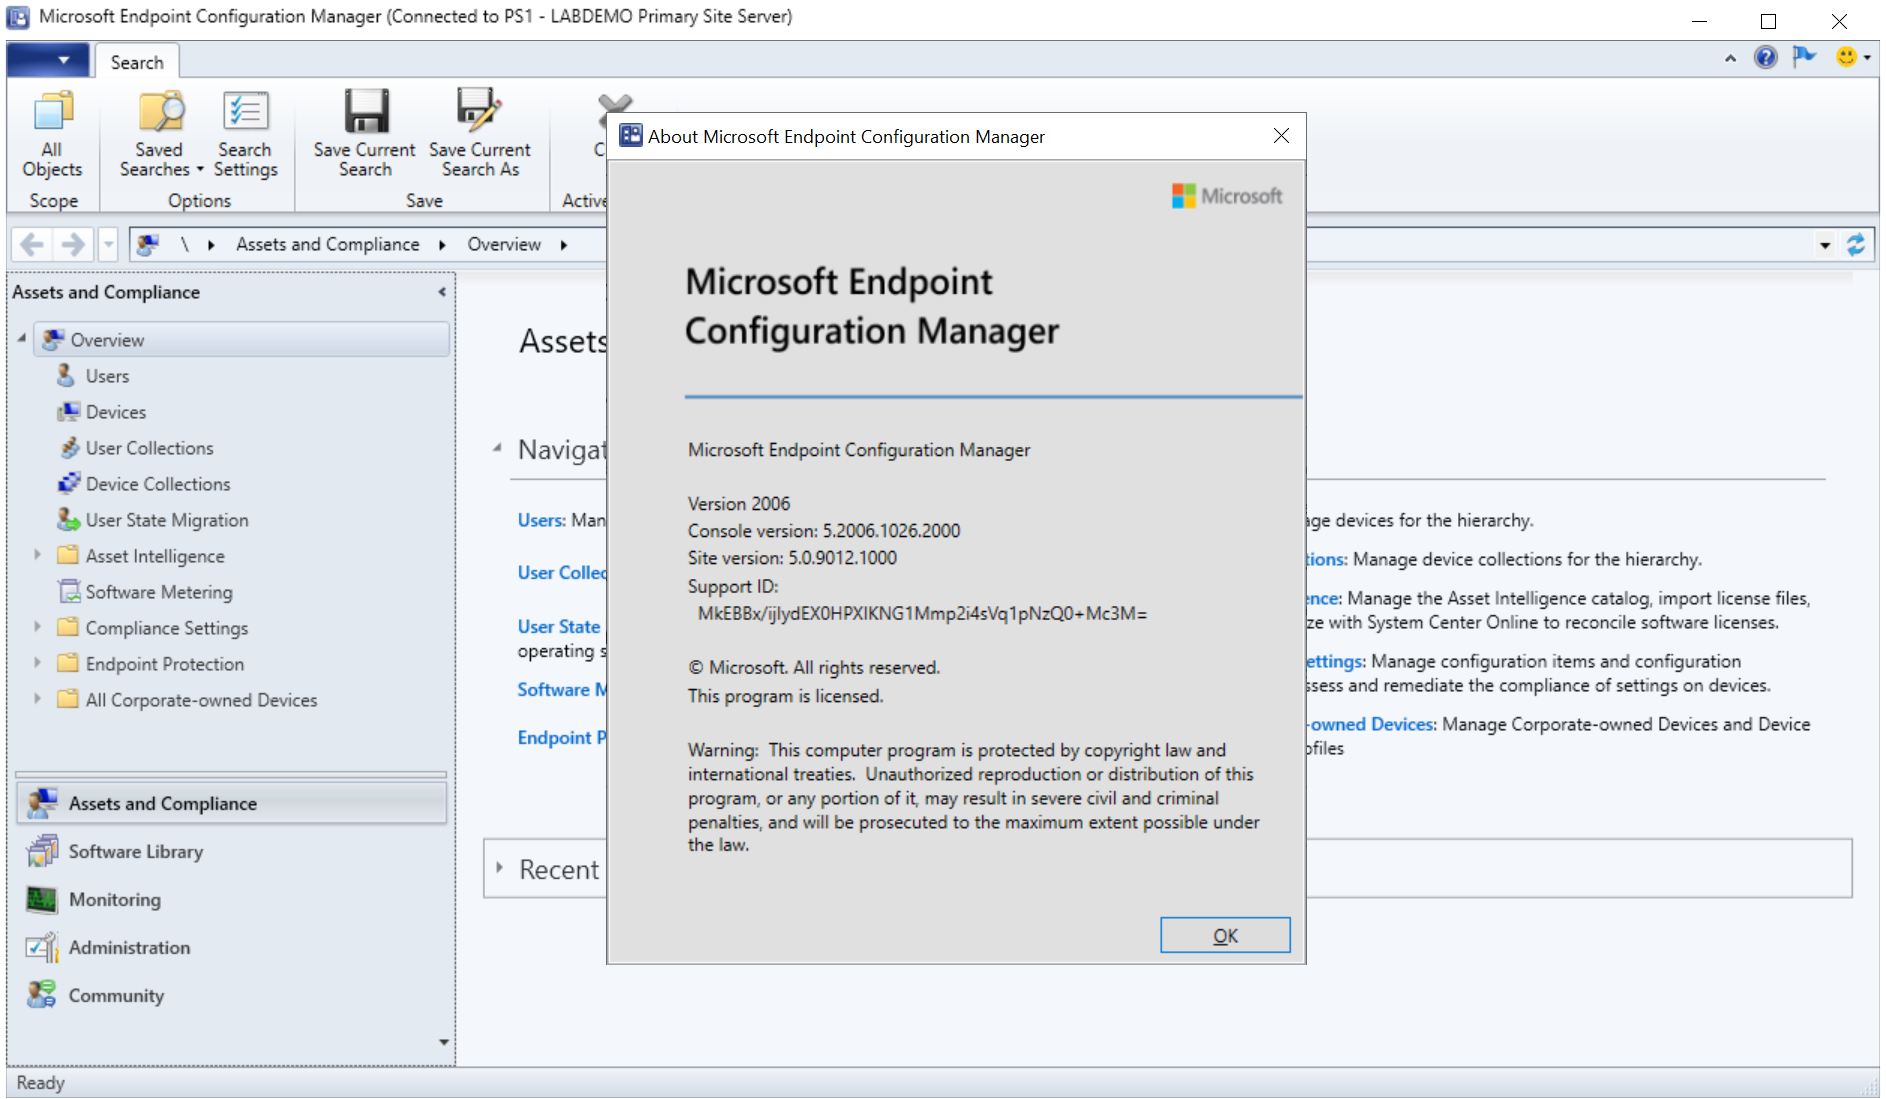
You can view the progress from the log files C:\ConfigMgrAdminUISetup.log and C:\ConfigMgrAdminUISetupVerbose.log and after the installation is completed the new SCCM Console will automatically launch.

Now you are ready to configure ConfigMgr 2006 and perform Software Deployment Services and Operating System Deployment with the lab that we’ve just built. Thanks for taking time to read this post.


Leave a Reply