PowerShell is king! that’s what they say, and indeed it is. I have Windows Server Technical Preview which has been available to the public since October 2014 for download at this link http://www.microsoft.com/en-us/evalcenter/evaluate-windows-server-technical-preview
Here’s the one liner script on how to create a new Active Directory Forest in PowerShell on Windows Server Technical Preview.
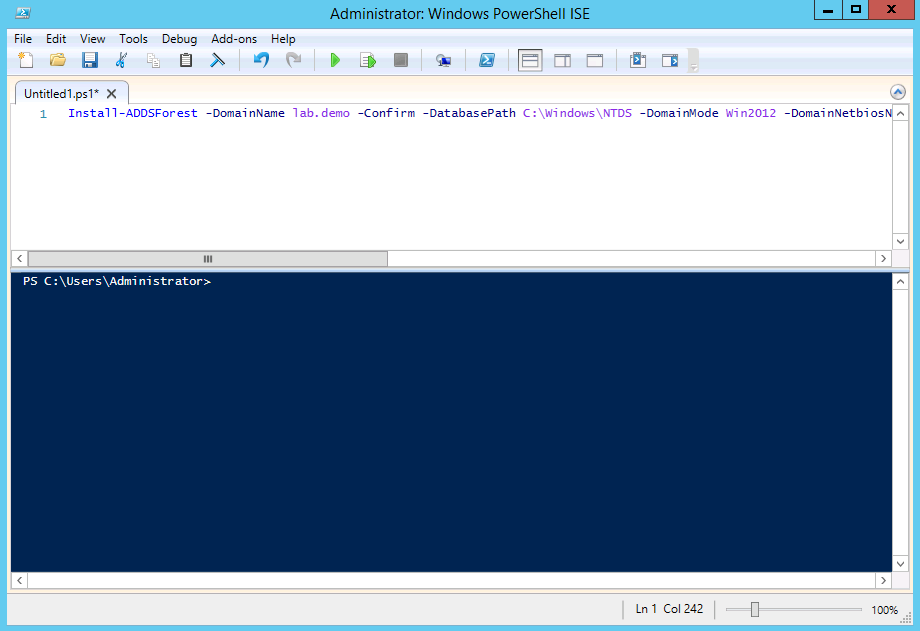
Install-ADDSForest -DomainName lab.demo -Confirm -DatabasePath C:\Windows\NTDS -DomainMode Win2012 -DomainNetbiosName LABDEMO -Force -ForestMode Win2012 -InstallDns -LogPath C:\Windows\NTDS -NoRebootOnCompletion -SysvolPath C:\Windows\SYSVOL
My domain will be LAB.DEMO
In in the Windows Server Technical Preview, click on the Windows logo and in the Search box, just type “Power” and a couple of Windows PowerShell icons will appear, I have selected Windows PowerShell ISE, made a right-click on and click on “Run as administrator” from the menu.

Next is to type in the command above…

It will then ask for the SafeModeAdministrator twice.

A progress bar will appear to show you the status of the installation.

Once the installation completes, restart your server type in: shutdown /r /t 0

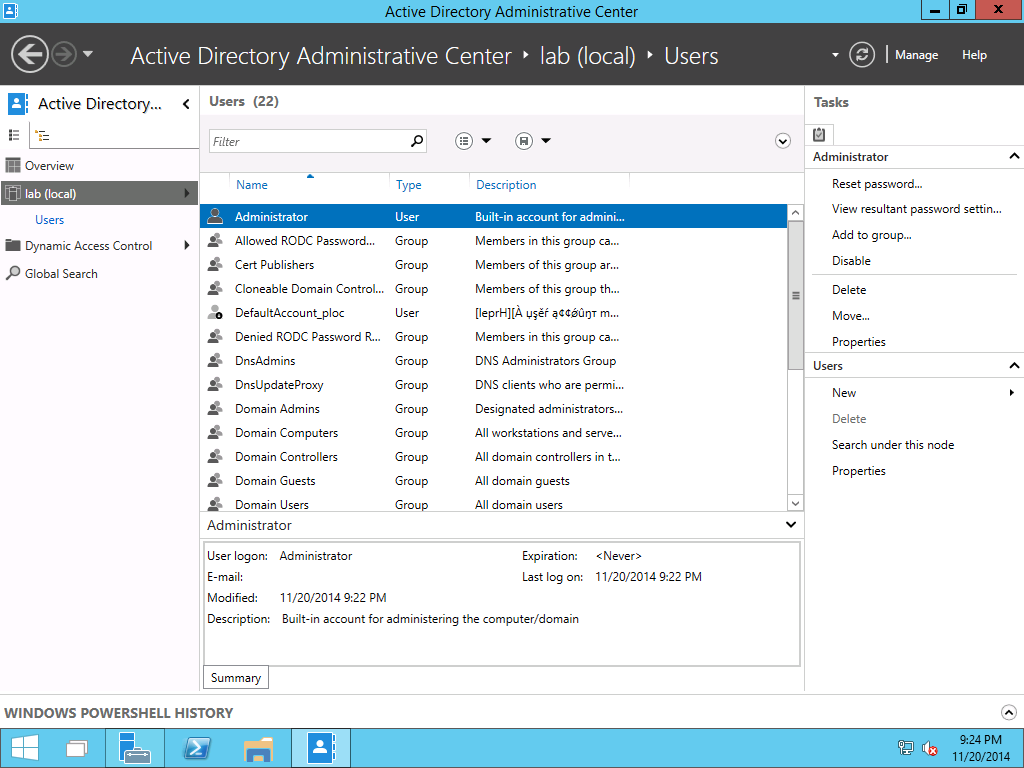
After the restart notice that the login page is now my domain LABDEMO

After the Server Manager launches, click on Tools, notice that even Group Policy Management is installed.

If you want to try this out, copy the command below:
Install-ADDSForest -DomainName domain.local -Confirm -DatabasePath C:\Windows\NTDS -DomainMode Win2012 -DomainNetbiosName DOMAINLOCAL -Force -ForestMode Win2012 -InstallDns -LogPath C:\Windows\NTDS -NoRebootOnCompletion -SysvolPath C:\Windows\SYSVOL

Just change the following to your preferred Domain Name and Domain Netbios Name (highlighted above).


Leave a Reply